
The 16.5 mile class IV Bridge run begins with the confluence of the Yalakom River and the Bridge River. Until recently, the Bridge river rarely rose to boatable levels, but that has changed as tribal influence has brought increased releases from Terzaghi Dam up to protect the native salmon runs on the river. This run covers the Bridge River from the Yalakom confluence down to the Fraser River. The mouth of the Bridge is a much-used fishing ground by the native peoples of the valley, and in late summer, you will see their scaffolds and nets in the river.
Looking into the Bridge Canyon from the road somewhere below Crane's Ledges.
From the putin on the Yalakom, whitewater begins instantly with a narrow set of class III ledges leading down to the confluence with the Bridge. Put in just below the bridge over the Yalakom. The Bridge confluence is a few hundred yards downriver. Once out on the Bridge, the whitewater is continuous class III for a mile or more until you come to the Coliseum.
Before the Bridge was dammed, higher flows carved the magnificent Coliseum.
The entry rapid to the Coliseum section is a trashy constricted mess, so stay well to the right and sneak through the class III sneak channel. We ran right up against the river right bank, then cut back to the main channel below the main drop.
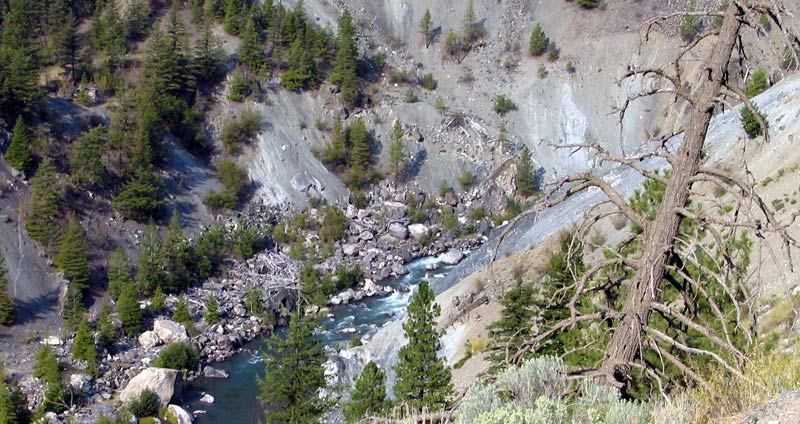
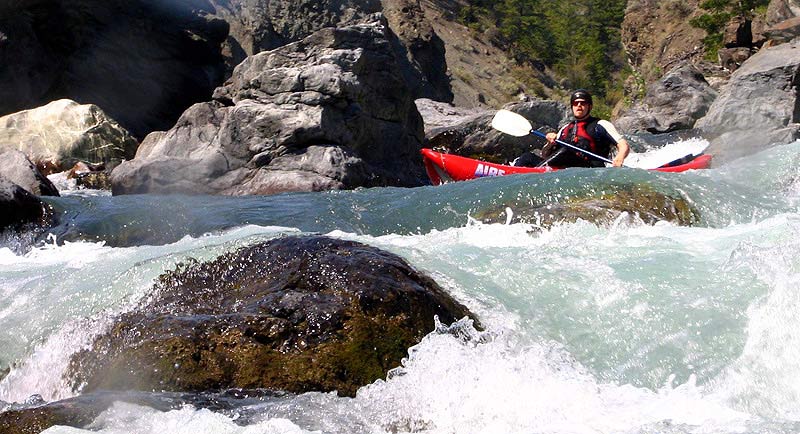
Below the Collesium, the river continues to provide excitement, with plentiful class III+/IV boulder gardens. There's a fun ledge in this section. The most notable rapid comes when the river is choked off by two giant midstream boulders, the rapid we think is called Jade Drop. There is a large pool formed on the left below a class III entry rapid from which you can scout the main drop.
At moderate to high flows, the slot between the two midstream boulders may look tempting -- but it pours onto a flat rock, so catch the huge eddy on the left and choose your route. We opted for the left slot, sliding from left to right, then moving back left to make the narrow slot at the bottom of the drop.
Joe Sauve lining up for the final slot in Jade. The slot behind Joe is the one between the boulders that pours onto the flat rock.
Below Jade Drop, the river enters a beautiful narrow canyon. This canyon contains Crane's Ledges, a respectable class IV rapid that is easy to scout or portage on the left.
At Crane's Ledges the water pours along river right, over a ledge that has a hidden rock backing up the outflow. Enter right, move well left and boof the second ledge left. The left side of the midstream boulder is the preferred run below the second ledge.
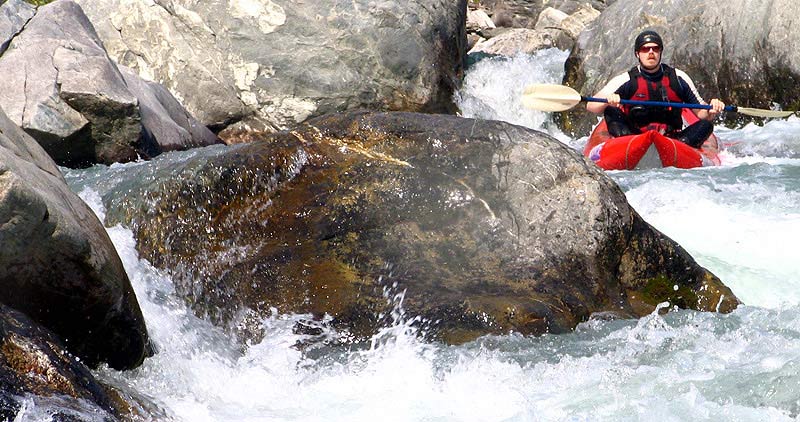
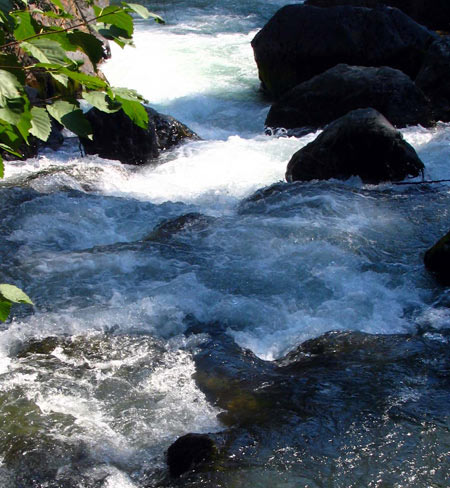
Below Crane's Ledges, the river continues with more great class III and IV boulder gardens. Everything should be boat scoutable, but portage routes are plentiful and a quick scout is usually an easy affair. Most of these rapids are short but steep boulder jumbles, and many have more than one route.
Meryl Douglas running one of the many great rapids below Crane's Ledges.
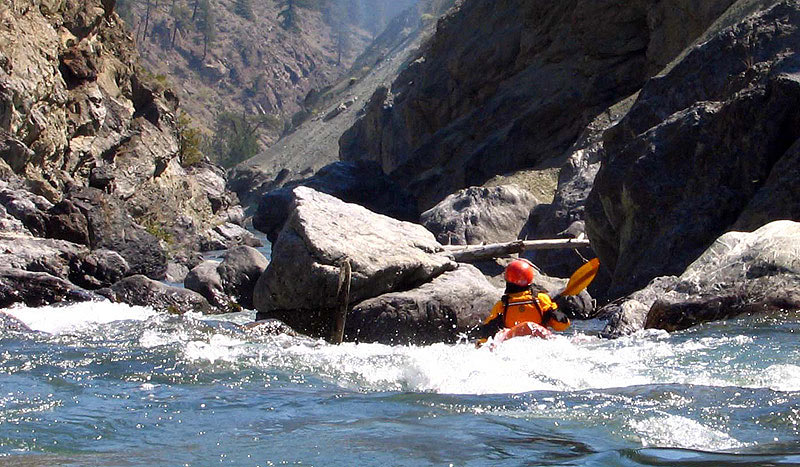
Joe Sauve boat scouts a typical drop below Crane's Ledges.
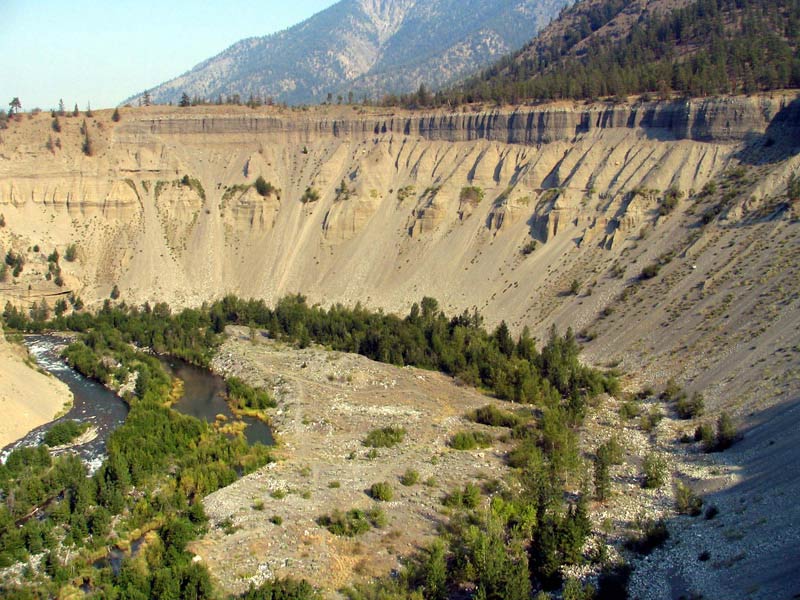
From here, the river mellows to intermittent class II+ riffles. The scenery here is excellent, with incredible barren scree slides and rock outcroppings. The action starts to pick up again as a series of class III rapids appears.
Next comes a wonderful cascade that flows off the left canyon wall as Applespring Creek enters from above the canyon. This signals the approaching Death Flats, another section of class II water to contend with. This is a great section for a lunch stop.
Though there is little whitewater through this section, it's a great opportunity to enjoy the incredible landscape this river occupies. There are some fantastic rock bluffs, packed earth walls, and more barren hillsides, all with wonderful color and untouched by development.
As you come out of Death Flats, you'll find another section of whitewater picking up. These drops are initially a bit easier than the Jade Drop section and most are class III.
Though initially class III, this section quickly builds to the steepest class IV drops on the run, culminating in class V Hard Hat.
When you see a dark rock wall rising out of river right, you are approaching Hard Hat. When you can no longer eddy-hop and boat scout, you know it's time to get out and scout.
Hard Hat is rated a steep but straightforward class V. Scout on either the right or left, depending how you want to run. The river right run consists of an 8-foot ledge along the canyon wall. Stay right below the ledge to avoid being flushed center. The left side run starts left of center and works close to the left bank before sliding hard right then dropping into a narrow chute flushing from the center of the rapid. Portages could be completed on either side, but will not be as easy as other places in the canyon. It might be worthwhile to scout both sides before choosing where to portage.
Hard Hat, left side. Enter left and line up for the left-to-right move in the slot.
Below Hard Hat, the Bridge offers wonderful class IV pool-and-drop rapids for several miles down to the confluence with the Fraser. This last section of whitewater is excellent. Recovery pools are abundant, and the rapids stay constant and exciting. The river enters its final canyon shortly below Hard Hat, and walls rise up from both sides of the river.
When the bridge just above the Fraser confluence comes into view, you are above Waterfall. This class IV drop looks tempting to run left. Stay well right, however, or you'll have a nasty, boat-bashing run through the very bony right or center. This rapid can be scouted from the road or bridge before the run.
ACCESS: From Tom O'Keefe's description: From Lillooet (Yahoo map) head north along the west bank of the Fraser River. Near the end of town you will reach a turn-off for the Bridge River. It's 3.9 miles (6.2 km) from here to the bridge across the Bridge River. For the take-out park here or back track 0.4 miles (0.6 km) to a pull out along the Fraser. From the bridge continue up the river along river left. You'll pass Applespring Creek at mile 7.3 (11.7 km) and a good camping site between the road and the river at mile 10.2 (16.3 km). Continue on to mile 14.2 (22.7 km) to view the Coliseum, and continue on as the road winds down the hill and reaches the Yalakom River bridge at mile 16.5 (26.4 km). There is a pull-out on the east side of the bridge. Respect private property along the road here.
FLOWS: Visual gauge. If you see enough water to run Waterfall from the takeout bridge, the rest of the run will have water. Expect 300 - 500 cfs in late summer below the Yalakom confluence. This run would kick at higher flows. BC Hydro does offer some data about flow near Terzaghi Dam. Check out BC Hydro for details.
This run was made August 14, 2004 by Nick Borelli, Meryl Douglas, Joe Sauve, and the author, Brian Vogt. All photos © Brian Vogt. Flows were estimated at 450 cfs. Information on this run can be found in the out-of-print Whitewater Trips for Kayakers, Canoeists and Rafters in British Columbia by Betty Pratt-Johnson. Limited information is also available in Whitewater in BC's Southwest by Steve Crowe and Jim Hnatiak. A final resource is Tom O'Keefe's write-up on Paddle Guides.